Monday, January 14, 2013

TKO: Flower Hair Clips

While I was pregnant, I was bored at home and always looking for new crafts to conquer.  One day while perusing the local Dollar Tree, it occurred to me that I could make some cute, girly hair stuff for pretty cheap.  I stocked up on jewels and flowers and the rest is history.  These flower hair clips are so easy to make, definitely not worth the $4+ that they charge in the store, and they make a great gift for girls (and women!) of all ages.  Plus, they come together really fast!


You will need:  Artificial flower, scissors or craft knife, hot glue gun and glue, jewel, alligator hair clip, felt, shelf liner, and 3/8" ribbon.

Prep your alligator clip.  (See Bow Clip tutorial for how-to.)  Remove flower from stem.

Flip flower over and take apart, removing all plastic pieces.

Flip over again, arrange layers of petals, and lay flat.  Use hot glue gun to tack layers together.  Tack towards the center.

Glue jewel in center.  This is pink on pink, but be creative, you can use any color combination you like!

Glue securely onto clip.  Be generous!  Especially, if this is for a young child as they might be a tad rough.

They can be worn alone, or added to a nice headband, which I often find in 3- or 4-packs for $1 at HEB or Fiesta Mart. 

Knotty Know Know:  All flowers are not created equal.  Look for flowers that can easily be taken apart and laid flat.  Nothing puts a damper on a quick project like a feisty flower.

Knotty Knock-Off: Bow Hair Clips

This Knotty Knock Off comes via the Make It and Love It blog, where she shows us how to make Simple Hair Bow Clips.  It is a great tutorial, and I made a dozen myself before getting squirrely and adding my own mischief to the design.  I added a jewel and changed up the no slip part.  For this project, you will need: three 4 1/2" strips of 3/8" ribbon, one alligator clip, one jewel, felt (optional), shelf liner, and a glue gun.


The pink ribbon is satin.  I treated the ends with Fray Check, which can be purchased anywhere craft supplies are sold.  When using grosgrain, like the yellow shown below, heat seal the ends with a lighter.

Notice the alligator clip I'm using has a point on the end, rather than the prongs.  It works just fine, so don't worry if you have one type or the other.  I bought these on Amazon.com. 

Cover the clip with one piece of ribbon, making sure you glue neatly, but generously to hold in place.  This part of the clip will be handled the most.  Make two loops with the other two pieces.  Glue to tack.

Stack loops to form a bow shape.  Tack together with glue.  Then, glue the bow on the clip and the jewel on the bow.

Open clip and glue your felt, then shelf liner inside.  On the Make It and Love It, she uses white.  So did I until it occurred to me that brown would look better in my daughter's hair.  The clasp seems to disappear and the bow is showcased more prominently.  You can even cover the clip with brown ribbon (or hair-colored ribbon, if not brown) to further accentuate the bow on top.  Also, sometimes I'm lazy and don't use the felt!


Knotty Know Know (Tip):  Don't close this clip until glue is completely dry! 
(duh, right?)  I've done it, more than once, and the glue is difficult to get off without bending the clip.
Okay, you're done!


Tuesday, October 23, 2012

TKO: Happy Birthday Banner

Sure, I could have bought a "Happy Birthday" banner, but I wanted something BIG and slightly fancy and I needed an outlet for all of my party-planning frustrations.  So the custom "Happy Birthday" banner was born. Most of the materials I already had, so it was mostly a time investment.

You'll need: 13 sheets of card stock, 8 sheets of colored printer paper, a computer & printer, pencil, ruler, scissors (optional), x-acto (no.11) craft knife, cutting mat, white glue, crepe paper, brads, and 7' of 7/8" grosgrain ribbon and a lighter for heat sealing.

Print large dots on card stock and small (Swiss) dots on colored paper.  These make the background and add a little pizazz and dimension to our banner.  Next, print the words, for this project "HAPPY BIRTHDAY" in all caps on the colored paper.  The the letters should be outlined only, no fill!  We are going to cut them out later.
To make triangular flags: Mark the middle on the bottom of the page (4  1/4").  Draw a line from each top corner, to the bottom middle.  Cut along those lines.  For faster results, stack 3 or 4 sheets together when cutting.
You are left with thirteen of these triangular flags.
This is what your printed message should look like.  Cut letters out with scissors or x-acto.
Done!  Position letters on flags, and glue down.  Let dry before going to the next step.
Now your letters are dry, you can flip these bad boys over and add the crepe paper trim.  You don't have to measure, you can work right off of the roll.  Leave yourself plenty of slack since you will be pleating the paper.  Run a bead of glue about 1/4" from the edge of the banner. Start laying your crepe paper, leaving a little extra hanging at the beginning.  Press down a few inches, then fold back and forth to create pleats.  Just eyeball it.  It doesn't have to be perfect!
Once you reach the point, pleat (as shown below) adding a few dots of glue to keep it secure.


Now you've rounded the corner.  Run another bead of glue back up to the top.  Press and pleat like before.  Let dry before continuing.
With the right side up, fold under any extra crepe paper, so that the  top is all even.  Then, cut  a small dash in each top corner, just big enough to insert a brad.  On the end flags, cut two holes in the corner where the ribbon will be attached.

Stack flags to form two separate banners, one that says "HAPPY" and the other "BIRTHDAY".  Insert brads to attach them together.  I used small scrap book brads,  because I had them laying around already.  You can use whatever kind you have available.

Cut 4 strips of grosgrain ribbon: two pieces at 18" and two pieces at 24".  Cut or poke two holes in the end of each piece.  Use brads to attach 18" pieces to either side of the "HAPPY" banner, and the longer pieces to the "BIRTHDAY" banner.  Make sure that all holes and cuts on the ribbon are heat sealed!


You are a paper crafting master.  Hang as you please.  
TIP: I used 3M Command hooks to hang mine...they worked like a charm!


Wednesday, October 17, 2012

(Rubber Ducky) Birthday Party Favors

My baby just turned one, and the party was really fun!  I crafted several things for the party, including these party favors.  Mostly, I just assembled them, but I still added a personal touch.  Come hither, let me tell you all about it...

I first got my inspiration while in Dollar Tree.  I scoped out the wedding section, because I knew I wanted these bubbles, but lo, I found these white favor boxes. I put a pinch of paper shreds in each one and hot glued a bow on the front.  The bows are made out of leftover 5/8" grosgrain ribbon.
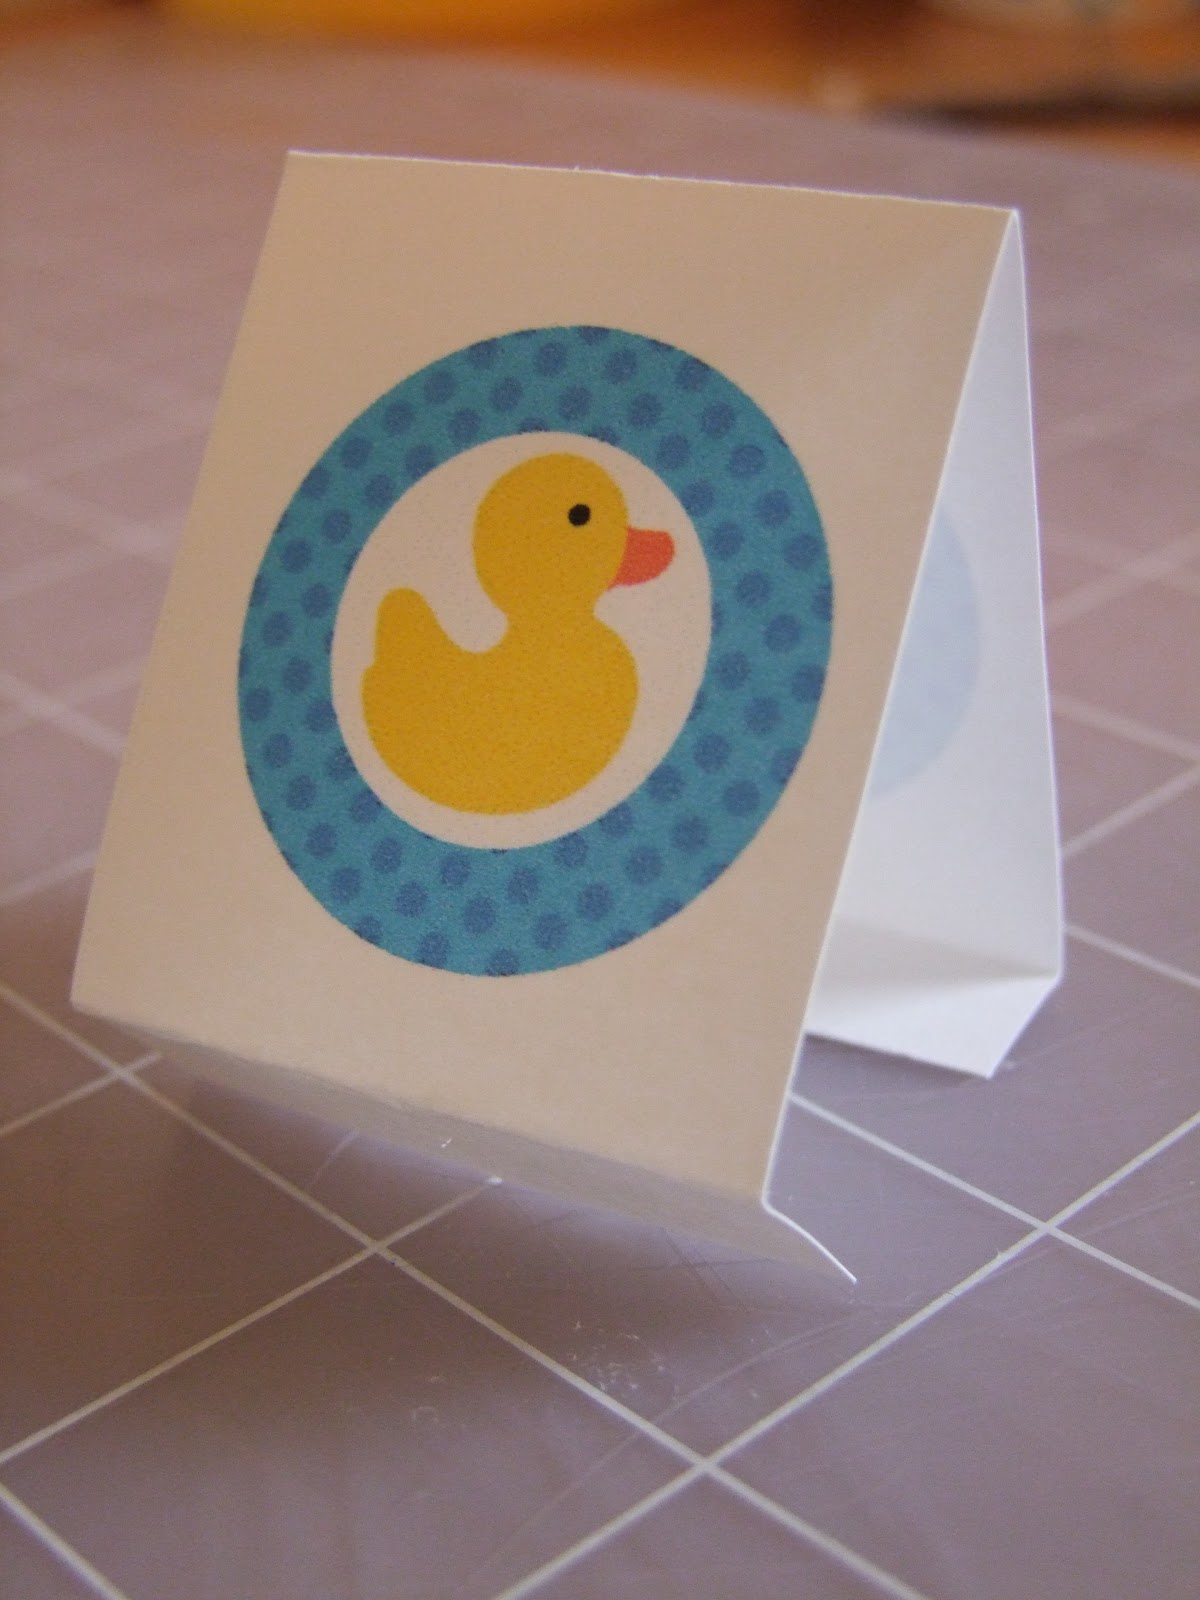
I used regular ol' mailing labels, printed some duck clip art on them, and customized the boxes and the bubbles. But of course there is more...
I used the images that I purchased from The Curious Princess on Etsy and made these simple lollipop covers.  You can purchase printable lollipop covers from the Etsy store, too, but I figured I'd save a few bucks and make my own template.  (Available below!)  Just cut on the solid lines, and fold on the dashed lines.  You could use a hole punch for the stick hole (above), but I didn't have one, so I cut an "X" there.

I filled the box with pre-packaged shredded paper, but recycled shreds would be just fine, too!  Pop in the bubbles, lollipop and these super cute duck squirters.  Ta-da!


Lollipop cover template:  

This does not include the graphics, because that wouldn't be ethical, but you can add whatever clip art that you like.  They are sized to fit Dum Dums because they are a good size for little mouths and are free of all major food allergens!


Cut on the solid lines and fold on the dashed lines.  Happy crafting!


Friday, September 21, 2012

TKO (Total Knotty Original): Ducky Hair Bow

What you will need for this project:  a glue gun, a straight pin, lighter, bone folder or pen/pencil, scrap thread, 1 barrette or alligator clip, 3' of 2" grosgrain ribbon, 3' of 7/8" grosgrain ribbon, 30" (or 2 1/2') of 3/8" grosgrain ribbon, and 1 flat back duck bow center.


I bought my ribbon from Hobby Lobby.  They have a great selection and often have ribbon on sale for half price, but any grosgrain ribbon should do.  I prefer grosgrain because it is easy to work with and very affordable.  Make standard "boutique" bow out of 2" ribbon. "I don't know how to make a standard bow" you say...There are lots of tutorials on YouTube.  I use a technique similar to this one.  You really don't need any fancy tools, just ribbon, some scrap thread, one finger and one thumb (preferably on the same hand).  Squeeze in center and wrap string around several times, until it stays put!

Make second bow with 7/8" ribbon. Start from one end and wrap around, back and forth, until you have six loops, three on each side, and two tails on the bottom (see below).


Pin.  Pinch in the middle and wrap thread around it.


Trim and heat seal the ends (run a flame over them).  Stack bows to amuse yourself ;)  Personally, I thought I was pretty much done at this point.  Then, I convinced myself that it needed something more...something to tie in the ducky bow centers that were in the mail at this point.  Lo, in my stash, I found yellow 3/8" ribbon. Fold ribbon to form 4 lengths and mark with a pen or bone folder.  This will help you create even loops.


Overlap creases/lines and ends and pin in the center to form a four leaf clover shaped bow. If your loops are even, hot glue together.  Here is a video of the same type of bow.

Here are your three bows.  All beautiful and special in their very own ways :)  Now let's get down to business!  Stack them:  large bow on the bottom, then the clover-shaped bow, then the six-loop bow.  If you are happy with them, hot glue those bad boys together!


Now we're finally ready for our duck.  I found these baby duck flat-back bow centers on eBay.  They are so cute! Not to mention really easy to work with.  They came in a pack of 10, so you can craft some other duck-themed items, or make a couple more bows...?  I digress.  Glue your ducky in the center.  Then, glue your preferred hardware to the back.  I used a 2" barrette.

Tip: Be sure to position your hardware so that the weight of the bow is balanced. (It took me a couple of tries to get it right!)


Bask in your awesomeness.